Most training aids end up in the garage because they were bought for the sport in general. They work when they are bought for one specific weakness. This guide sorts the best pickleball training aids for solo practice by the skill each one fixes (dinking touch, third shot drop, volleys, overheads, footwork) and by whether it works alone or needs other people.
It does not review ball machines in detail. That is covered in the Furlihong pickleball machine reviews, and the drills themselves live in separate articles linked along the way.
Match the tool to the weakness before you spend anything
Start with the shot that loses you the most points, not the shot you like practicing. Think back over your last few sessions of group play and name the errors that repeated: dinks into the net, third shots that sit up at the kitchen line, volleys that fly long, overheads you shank, or late arrivals to balls on your backhand side.
Once you have one weakness, the choice of tool gets small. This table is the filter used for the rest of the article:
Weakness Aid type Works solo? Dinking touch Wall or rebound surface, floor targets Yes Third shot drop Cones or markers, ball basket, tape lines Yes, with self-feeding Volleys and quick hands Rebound net or wall, reaction ball Yes Overheads Ball basket for self-tossing, target zone Partly; a feeder is better Footwork and fitness Agility ladder, cones, jump rope, bands Yes Decision-making and pressure Partner or group games No
The last row matters. No gadget fixes choosing the wrong shot at the wrong time, and the solo tools below will not either. They fix mechanics, touch, and repetition, which is where most of the improvement between group sessions comes from.
Before buying, ask two questions. Does this tool give me more quality repetitions of the shot I named? Will I really set it up on a normal Tuesday? A tool that takes twenty minutes to assemble will be used less often than a bag of cones.
Solo tools for dinking and soft-game touch
Touch is the hardest skill to practice alone, because a dink is normally a conversation between two players. You can still build the physical part: a consistent contact point, a quiet paddle face, and an arc low enough to stay near the net.
The cheapest solo dinking setup is a flat wall and a strip of tape. The center of a pickleball net is 34 inches high, so a tape line at that height on a wall shows you the minimum clearance. Stand a few feet back and keep the ball above the line while hitting it softly enough that it returns without a hard rebound. Walls give back a flat, predictable ball, so this builds control and rhythm rather than the ability to read an opponent’s spin.
A second useful aid is a floor target. A towel, a hula hoop, or a taped square placed in the kitchen gives you something to aim at when you self-feed. Drop the ball, dink it into the target, collect it from a basket, and repeat. Count how many of ten land inside, and write the number down. Without a count, dink practice drifts into hitting balls over the net.
Two things make dinking aids worth buying:
- They show you where the ball lands without needing a partner to tell you.
- They let you repeat the same contact over and over, which is how a soft hand becomes automatic.
If you want structured sequences once the setup is in place, the pickleball dinking drills article lays out the progressions, and topspin dinks drills covers the spin version for when your basic dink is steady.
What to skip: anything that promises to “teach you touch” with no way to measure the result. If the tool does not give you a target, a rebound, or a count, you are paying for a prop.
Targets, cones, and rebound setups for placement and the third shot drop
The third shot drop is a placement shot. It has to clear the net with a gentle arc and land in the kitchen, ideally near the back of it, so the other team cannot attack. Solo practice cannot reproduce a returner pressuring you, but it can build the swing and the landing zone.
Cones and flat markers are the standard aids here. Place two or three at the back third of the kitchen on the far side. Stand at the baseline, self-feed with a drop and hit, and try to land the ball between or beside the markers. Flat discs are better than tall cones for this because a ball that hits a tall cone stops being a clean measurement.
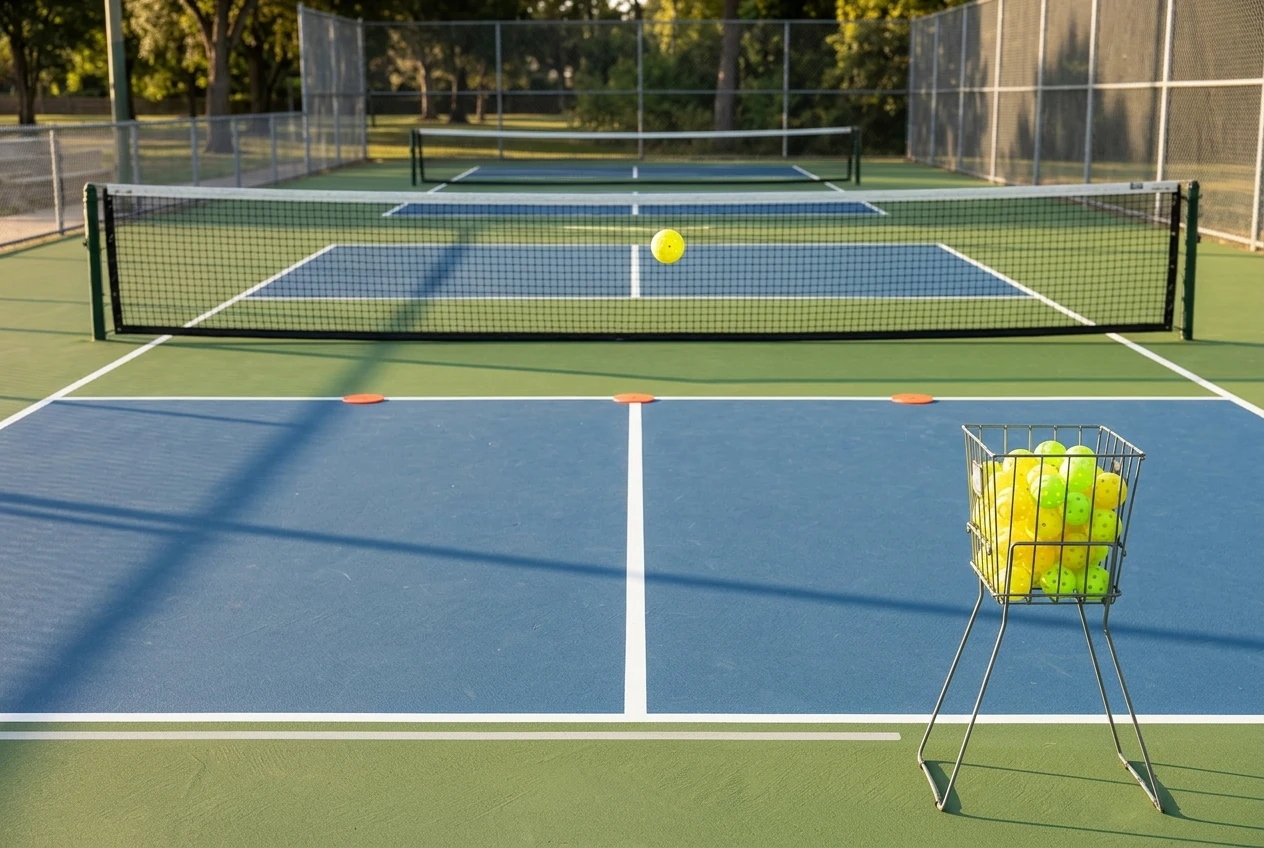
A basket of balls is the aid most players overlook. Without one, you spend half your session walking to pick up balls, and the repetitions you came for never happen. A hopper or any sturdy basket lets you hit thirty or forty balls in a row and then collect them once.
A rebound net can help with consistency of contact. It returns the ball so you can keep hitting without fetching, which suits shots where the goal is a repeatable swing path. It does not teach you where the ball would land on a real court, so pair it with floor targets whenever you can.
Some practical placement rules:
- Use a smaller target than you think you need. A target the size of the whole kitchen makes every ball look like a success.
- Track makes out of ten, and change the distance only after you reach a number you set beforehand.
- Hit from where you actually hit third shots in a game, which is behind the baseline after a serve or return.
If your drops keep floating up, the cause is usually in the swing or the contact point, and why your third shot drop keeps popping up walks through the fixes. For a ready-made layout of target zones, see pickleball target box training.
Aids for volleys, overheads, and quick hands at the kitchen line
Volleys fail for two reasons: the swing is too big, and the hands are late. Both can be improved alone with a wall or rebound surface.
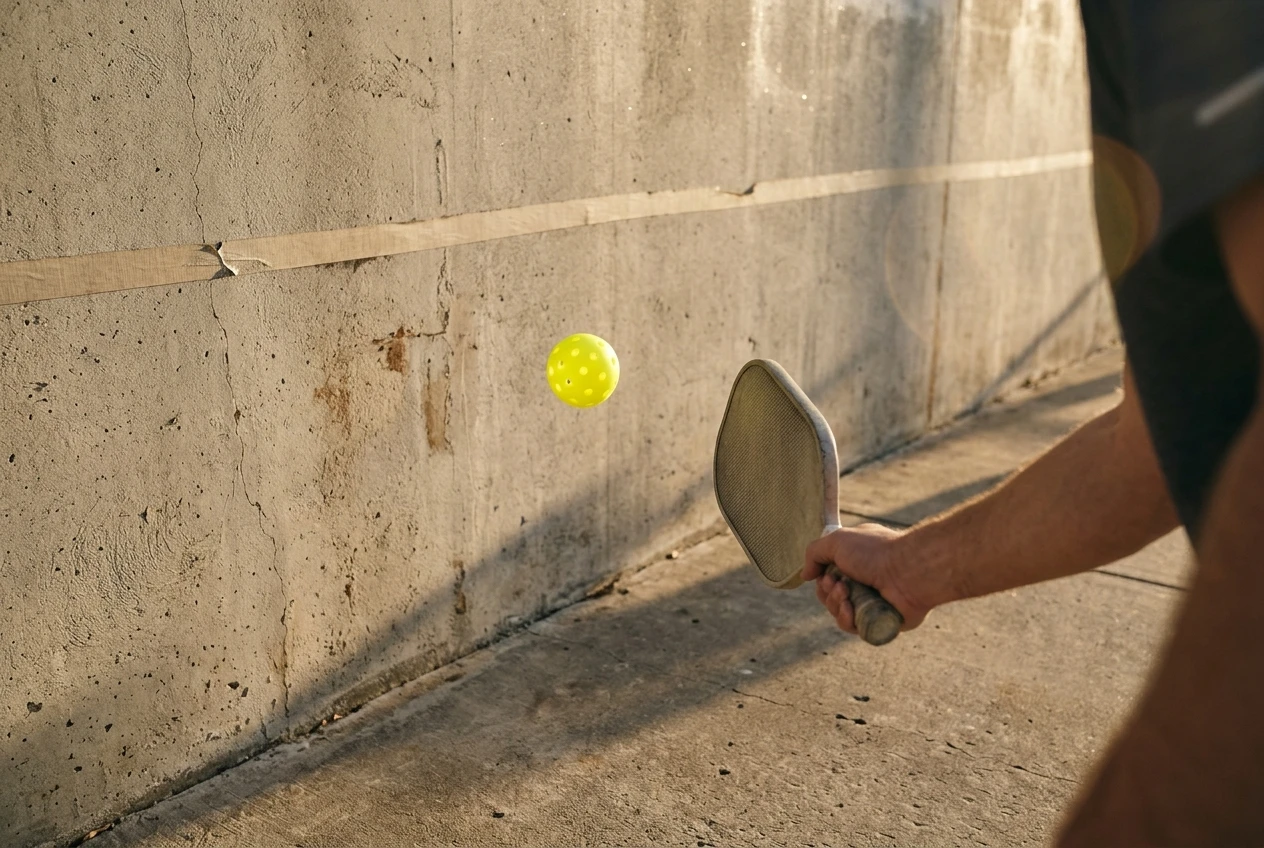
Stand close to a wall, a couple of paddle lengths away, with your paddle up in front of you. Hit the ball against the wall and volley it back repeatedly with a short, compact motion. The wall returns the ball quickly, so you are forced to keep the paddle in front of your body and to use your wrist and forearm only for small adjustments. Backhand-only rounds, then forehand-only rounds, then alternating, give three different drills from one wall.
A reaction ball is a small rubber ball with an irregular shape that bounces unpredictably. Tossing it against a wall and catching it builds hand-eye response. It is not pickleball-specific, and it will not fix a bad grip or a long swing, but it is an inexpensive way to train the reflex of getting a hand to a ball you did not see coming. Treat it as a warm-up, not a substitute for hitting real volleys.
Overheads are harder to practice alone, because they need a lob to hit. You can self-toss: throw the ball high in front of you, let it bounce or catch it at the right height, and swing at a target on the other side of the net. The toss makes this less realistic than a partner’s lob, but it still lets you work on footwork to get under the ball, the paddle path, and a controlled finish. The pickleball overhead shot drills article has sequences you can adapt for both solo and partner work.
For a deeper look at technique at the line, how to improve volley in pickleball covers grip, paddle position, and contact point, which matter more than any gadget.
Footwork and fitness tools that carry over to the court
Many of the shots players blame on technique are really footwork problems. The ball arrives and you are a half step late, so you reach, and the reach creates the mistake. Training aids for movement are cheap and portable, and they work well alone.
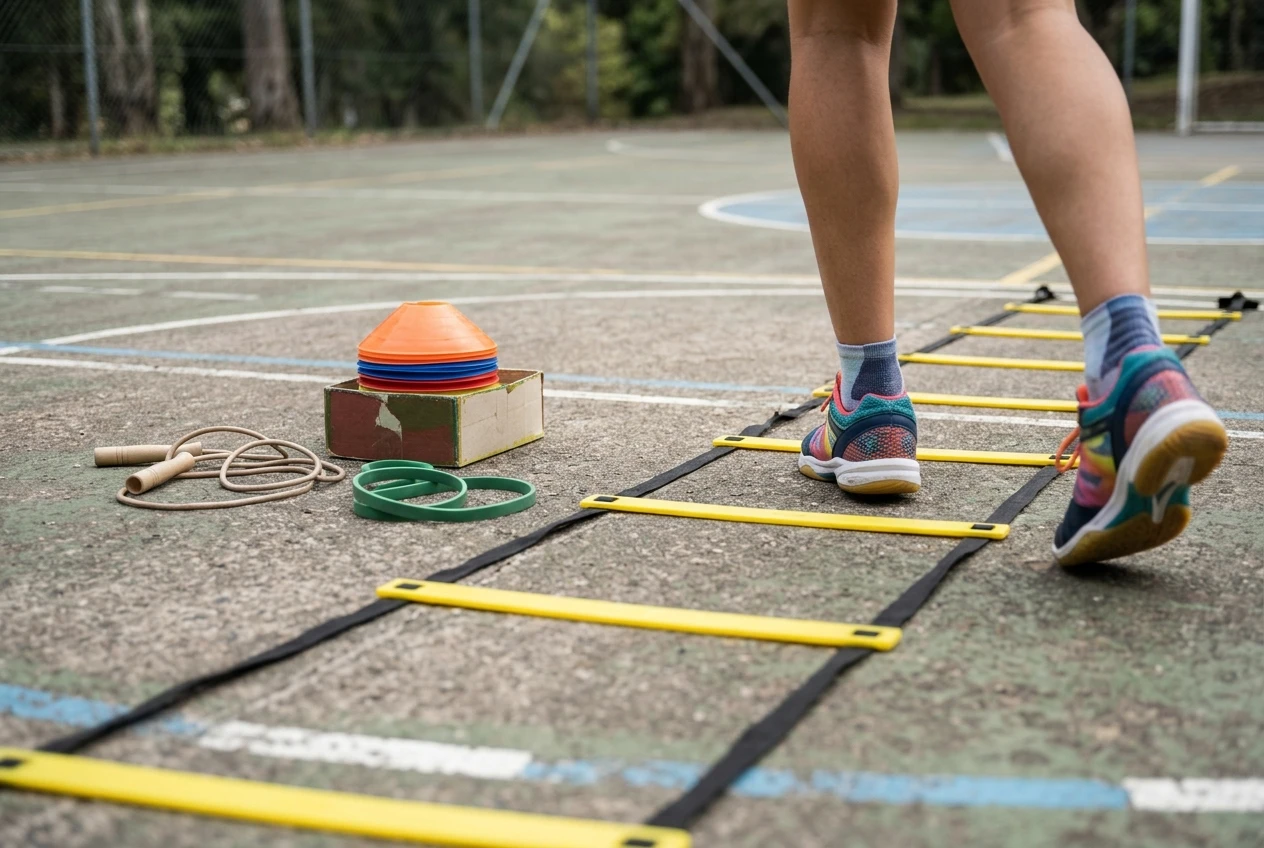
- Agility ladder. Quick-feet patterns through the rungs train foot placement and rhythm. Practice lateral steps and in-and-out patterns, since pickleball movement is mostly sideways and forward-back, not straight running.
- Cones. Set them in a short box and move between them with a split step before each change of direction. A split step is a small hop as your opponent makes contact, so you can push off in any direction.
- Resistance bands. Bands around the thighs or ankles load the muscles used in side-to-side movement. Keep the load light enough that your form stays clean.
- Jump rope. It builds ankle stiffness and calf endurance, which help with repeated quick starts.
None of these replaces playing, but they make the first two steps toward a ball faster, and those two steps decide whether you arrive balanced.
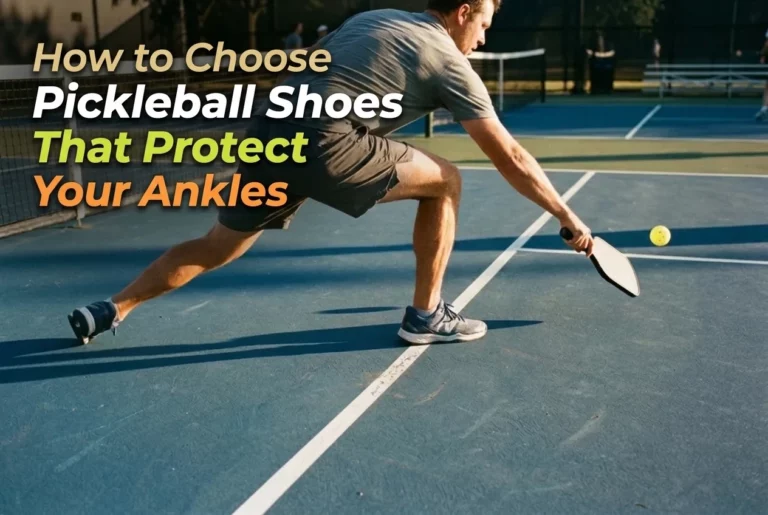
Footwear belongs in this section too. Quick lateral work in shoes that roll or slip undoes the benefit. If you are unsure whether yours support side-to-side movement, how to choose pickleball shoes that protect your ankles explains what to look for.
What changes when you practice with a partner or a group
Solo practice builds repetition. A partner or group adds the things a wall cannot supply: a ball that has real spin and pace, an opponent who makes decisions, and pressure.
Some aids shift in value when other people are present:
- Targets and cones become scoring tools. Two players can alternate third shot drops at a target and count points, which adds mild pressure to a drill that is otherwise easy to coast through.
- Ball baskets let one player feed while another hits. Feeding is a skill on its own, and a good feeder gives overheads and volleys the realistic delivery that self-tossing cannot.
- Tape lines and markers can divide a court into zones for cooperative dinking, where the pair tries to keep the ball in play for a set number of exchanges.
For small-group organizers, the gear list is short. Bring a ball basket for each court, a set of flat markers, a roll of tape, and a way to keep time. Station rotations work well: with four players on a court, two rally while two do a solo-style drill against a target, and everyone swaps every few minutes. This keeps everyone hitting instead of waiting.
Group work is also where you test whether solo gains hold up. A dink that lands in the target ten times out of ten at home may fall apart when someone is attacking you. If it does, you have learned something useful, and you can go back to the solo setup with a clear job.
When a ball machine is worth it and when it is not
A ball machine delivers repeated balls on a set pattern. It does not read your position, vary its shots the way a person does, or react to your play, so it fits only some weaknesses.
It is usually worth considering when:
- You need high repetition on one shot, such as overheads, backhand volleys, or returns of serve, and you have no reliable feeder.
- You have a place to use it, a way to power it, and room to store it.
- You already have the basics from a basket and targets and want more volume than you can create by hand.
It is usually not worth it when:
- Your main problem is touch or the soft game. A machine’s feed does not behave like a dink exchange.
- Your weakness is decision-making, such as choosing between a drop and a drive. A machine cannot create that choice.
- You have not yet used cheaper tools consistently. If a basket and cones sit unused, a machine will be unused too, and it is usually the largest purchase on this list.
If you decide a machine suits your weakness, the Furlihong pickleball machine reviews go through that model in detail so this article does not need to.
A simple weekly practice routine built from two or three tools
A routine you repeat beats an ambitious one you abandon. Choose one primary weakness and build the week around two or three tools. Here is an example for a player whose main problem is the third shot drop:
Session one (about 30 minutes): placement. Set out flat markers in the back third of the kitchen. Use a ball basket to self-feed from the baseline. Hit 10 balls, record how many land in the target, and repeat for several rounds. Finish with a few minutes of easy dinks to keep your hands soft.
Session two (about 30 minutes): footwork and contact. Spend ten minutes on agility ladder patterns and split steps. Then do wall volleys for ten minutes to keep the paddle compact and in front of you. Spend the rest on a few rounds of target drops.
Session three: play. Join a group game and use the third shot drop deliberately, even when a drive seems tempting. Afterward, note roughly how many drops worked, since this tells you whether the solo gains are transferring.
Keep a one-line log: the date, the drill, and the number you were tracking. After two weeks, you can see whether the number moved, and that tells you whether the tool earned its place. If it did not move, change the drill or the distance before buying anything else.
Swap in the right tools if your weakness is different. A volley problem pairs the wall with a reaction ball and a few rounds of self-fed overheads. A footwork problem leans on cones and the agility ladder with fewer ball drills. In every case, two or three tools are enough.
Pick the one weakness costing you the most points this month and try one aid from this list for two weeks, then come back and tell me what changed. If you want a plan built around your own game, ask about working with a coach.